Recording and archiving stained glass
Many places of worship house magnificent treasures of art that are seen by only a few. People can be put off the nature of the building, or in quite a number of cases, there is simply no public access. When able to see such artwork, the lighting of the windows will not always be optimal for satisfactory viewing. Thus stunning windows go largely unnoticed and this art form is rarely appreciated. I have been trying to make such artwork more readily available to the public by photographing the windows, but the photography of stained glass windows is beset with difficulties:
- Light levels within and outside the building are rarely, if ever favourable, with insufficient direct light, or constant partial shadow.
- The height and size of the windows typically results in perspective distortion when photographing with standard lenses.
- Stained glass windows present a dynamic range, beyond the capabilities of the best cameras: is exposure bracketing then painstaking reassembly of the window the best solution?
- The removal of the strengthening bars requires demanding image editing with manual interpolation of the four or five ‘missing’ 1cm strips of window. Are there better techniques for such work?
- With the image complete, how best to present a reproduction of a window that might be 4-6m tall and backlit by natural light?
I am inclined to think that removing the main subject of a windows from its context will make it more readily appreciated by the viewer (removing dedications and decorations) – certainly this will provide a more manageable aspect ratio. However, this does then preclude the image from being quite so useful as a historical reference or for insurance archive purposes. Thus it would seem wasteful not to archive the entirety of a window and then crop out the ‘flesh’ for more public consumption. This does raise an important consideration: what is the current thinking on most effective archiving of data files when the images are required as an insurance backup against catastrophic damage?
Exposure bracketing was used to produce six images of the stained glass window, to provide a full range of exposures from heavily underexposed (to reveal detail in the darker areas) through to heavily overexposed (revealing detail in the lighter areas). From those six images, a seventh image was constructed, single segment of glass at a time, having first selected the most appropriate piece from the original images. Considerable time was then spent remove the unsightly, horizontal metal support bars before some cosmetic ‘cleaning’ of the seventh image. The three images below illustrate the process.


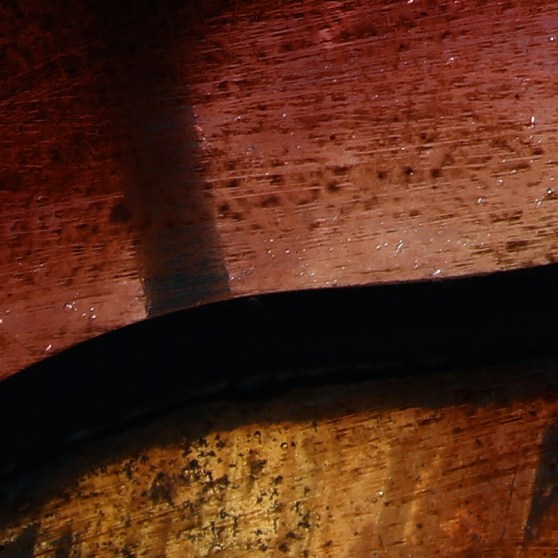
 Through the series of photographs, I tried hard to give an indication of the subject matter, the history of the window, the opulence of the figures depicted as well as some suggestion of the condition (both good and bad) of the window. I believe that I met all of the rules, although I am not entirely sure that I was able to portray the window as an experience. To provide greater flexibility, I shot just over 40 photographs, experimenting with the addition of some of the structure of the stained glass. Perhaps I should have included more images such as this, which shows one of the strengthening bars, and also illustrates well the large dynamic range. This project illustrates well the difficulties inherent in photographing these windows. The pale green glass in particular proving very demanding to capture appropriately. In photographs it can look either washed out or flat and dull grey-green, when in reality it has an almost golden component. Confirmation, were it needed, for a photograph of stained glass to be a composition of numerous differently exposed segments.
 previously viewed them from that perspective. However, closer examination of one of the windows dew me to venturing outside. It appeared that the glass was layered. Certainly not immediately obvious, but there are sections that clearly have more than one layer of stained glass, producing a three dimensional feel that is most apparent on this tiled floor section from ‘The Lord is my refuge and fortress’. However, trying to photograph this effect as intended, is close to impossible. The best I could manage was to demonstrate that there is a lower layer of lead.
 those windows than is apparent from the inside). Some of the double layers are in vivid, dark coloured locations – perhaps two layers of glass are necessary to achieve the deep blues, for example (although it is worth noting that not all vivid blues areas are double-layered).

 Removing the horizontal
 I stand by my belief that the edited images are dramatically improved following the removal of the support bars. Thus it remains my intention to remove them when and where possible. Perhaps my choice of stained glass window within a chapel, where choice is available, should be driven to some extent by this factor. Where this presents an almost
  impossible editing challenge, such as the bird basket above, then it would seem appropriate to leave the support bars in situ. Frustratingly, I am prompted to type this having spent in excess of 10 hours thwarted by one section of support bar within an image from which I had already removed 60% of the bars!


")
")
")

")
")